Top 10 Easiest Yoga Poses for Beginners
Discover Top 10 Easiest Yoga Poses for Beginners. Simple, safe steps, benefits, breathing tips and mistakes to avoid.
Summarize this blog with:
Looking for the Top 10 Easiest Yoga Poses for Beginners that you can actually do at home without feeling overwhelmed? You are in the right place.
If you have ever rolled out a mat and thought, "I don't know where to start," these ten poses are your starting line. They are gentle on joints, kind to beginners, and taught in every traditional yoga school in India as the foundation before anything advanced. In the next few minutes, you will learn what each pose means, how to do it step-by-step with correct breathing, its real benefits, and the small mistakes that make a big difference.
What Are Yoga Poses for Beginners?
Yoga poses, traditionally known as asanas, are physical postures practised to develop stability, flexibility, strength and body awareness.
In the traditional Indian understanding of yoga, asana is one part of a broader discipline that includes ethical principles, breath regulation, concentration and meditation.
The Sanskrit word asana is commonly translated as posture or seat. In Patanjali's Yoga Sutras, the principle of asana is described through the phrase Sthira Sukham Asanam, meaning that a posture should be steady and comfortable.
For beginners, yoga poses are simple, accessible movements that help the body gradually become familiar with stretching, balancing and controlled movement.
Some common beginner-friendly yoga poses include:
- Mountain Pose (Tadasana)
- Child's Pose (Balasana)
- Cat-Cow Pose (Marjaryasana-Bitilasana)
- Cobra Pose (Bhujangasana)
- Downward-Facing Dog (Adho Mukha Svanasana)
- Bridge Pose (Setu Bandhasana)
These poses can be practised individually or combined into a short beginner yoga sequence.
The important thing to remember is that yoga is not about achieving a perfect posture. It is about practising with awareness and respecting your body's current abilities.
For general information on yoga research and safety, see the NCCIH Yoga: Effectiveness and Safety overview.
Top 10 Easiest Yoga Poses for Beginners
Move through these in order, or pick two or three. Breathe through your nose unless a pose says otherwise.
1. Mountain Pose (Tadasana)
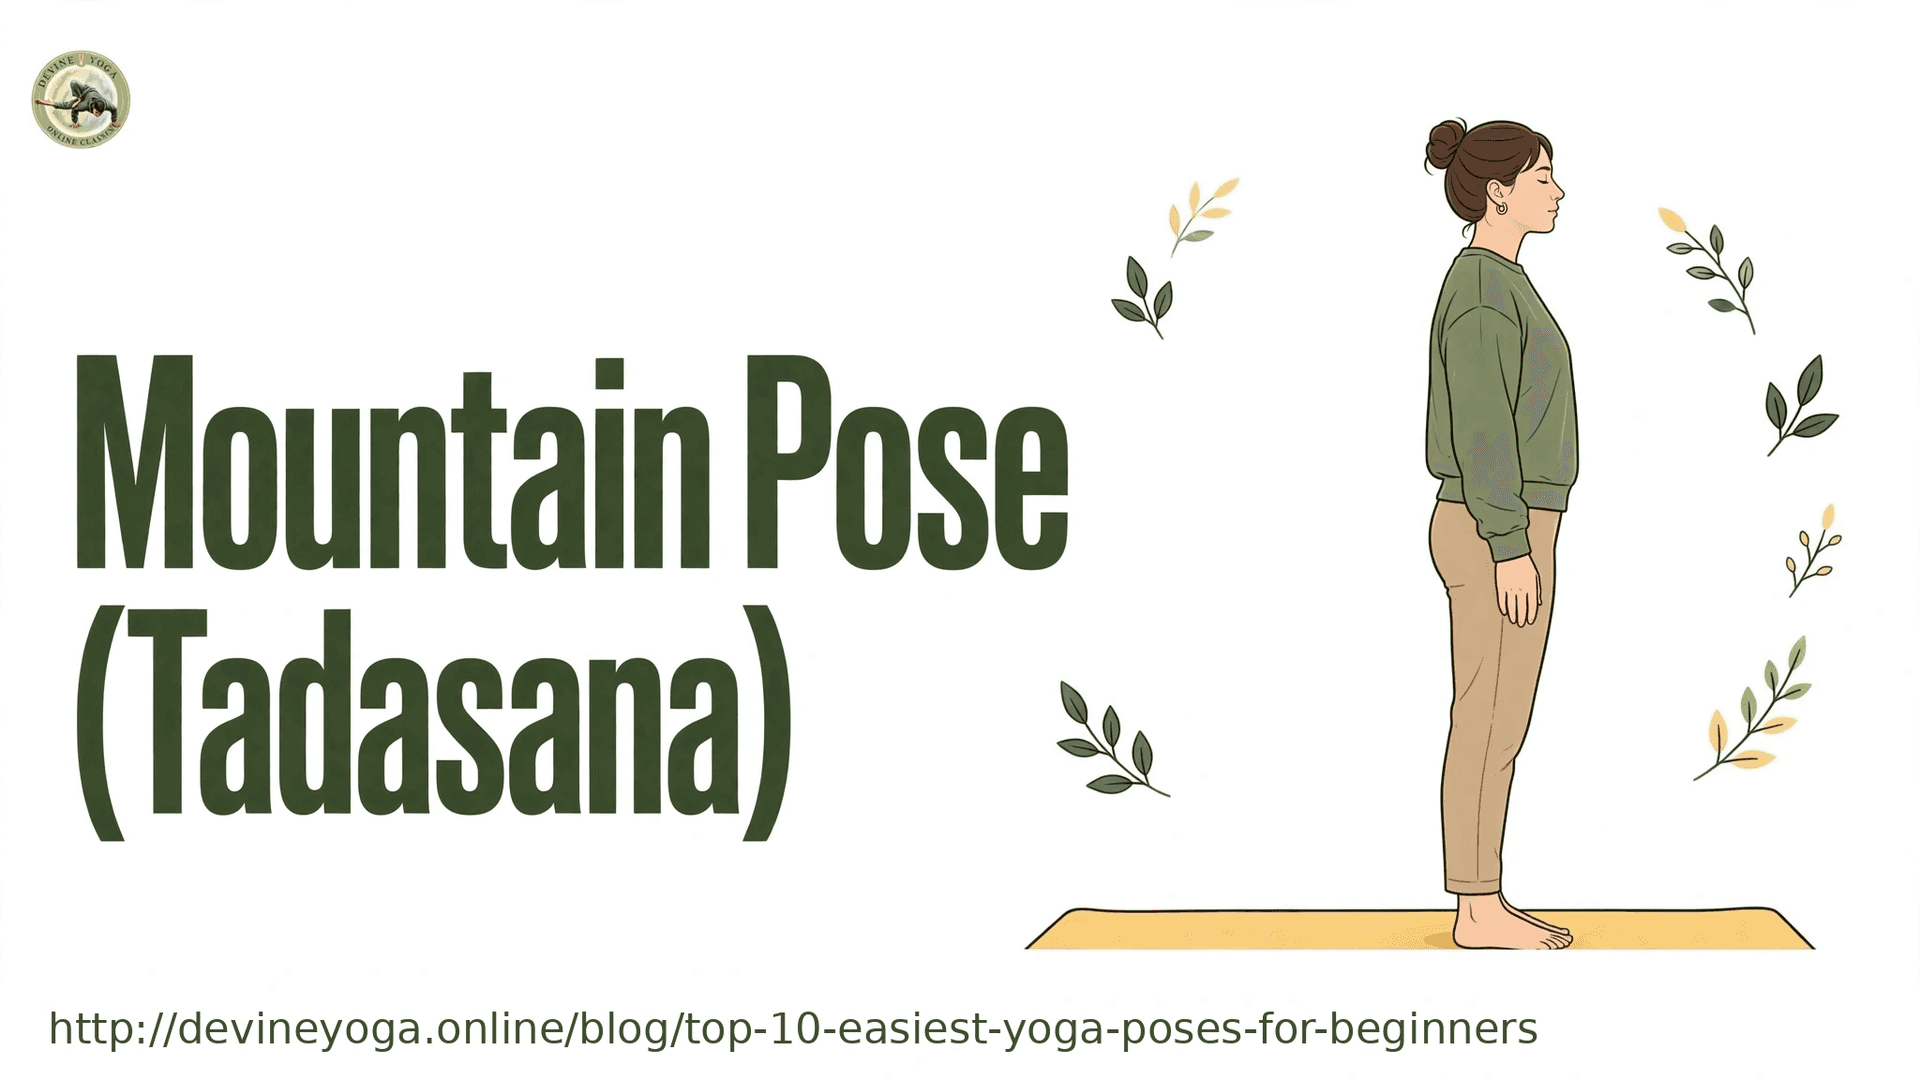
Hold: 5 slow breaths
This is the base of nearly every standing pose. It teaches you how to stand properly, which most of us have forgotten.
- Sanskrit name: Tadasana
- English name: Mountain Pose
- Difficulty: Beginner
- Recommended duration: 30–60 seconds
How to do it:
- Stand upright on your yoga mat with your feet together or slightly apart.
- Distribute your body weight evenly across both feet.
- Keep your knees relaxed rather than forcefully locked.
- Gently engage your abdominal muscles.
- Allow your shoulders to relax and keep your arms beside your body.
- Look straight ahead and maintain a natural breathing rhythm.
- Hold the position comfortably for 30–60 seconds.
Why it works: It trains posture awareness. Many beginners discover they lean on one leg or tilt their head forward by habit.
Benefits of Tadasana:
- Encourages awareness of standing posture.
- Helps develop balance and body alignment.
- Strengthens awareness of the feet and legs.
- Prepares the body for other standing yoga poses.
- Encourages a calm and attentive state of mind.
Common mistakes to avoid:
- Locking the knees forcefully.
- Leaning too much towards the heels or toes.
- Raising the shoulders unnecessarily.
- Holding the breath while standing.
Make it easier: Stand with your back against a wall to feel a straight line from head to heels.
2. Easy Pose (Sukhasana)
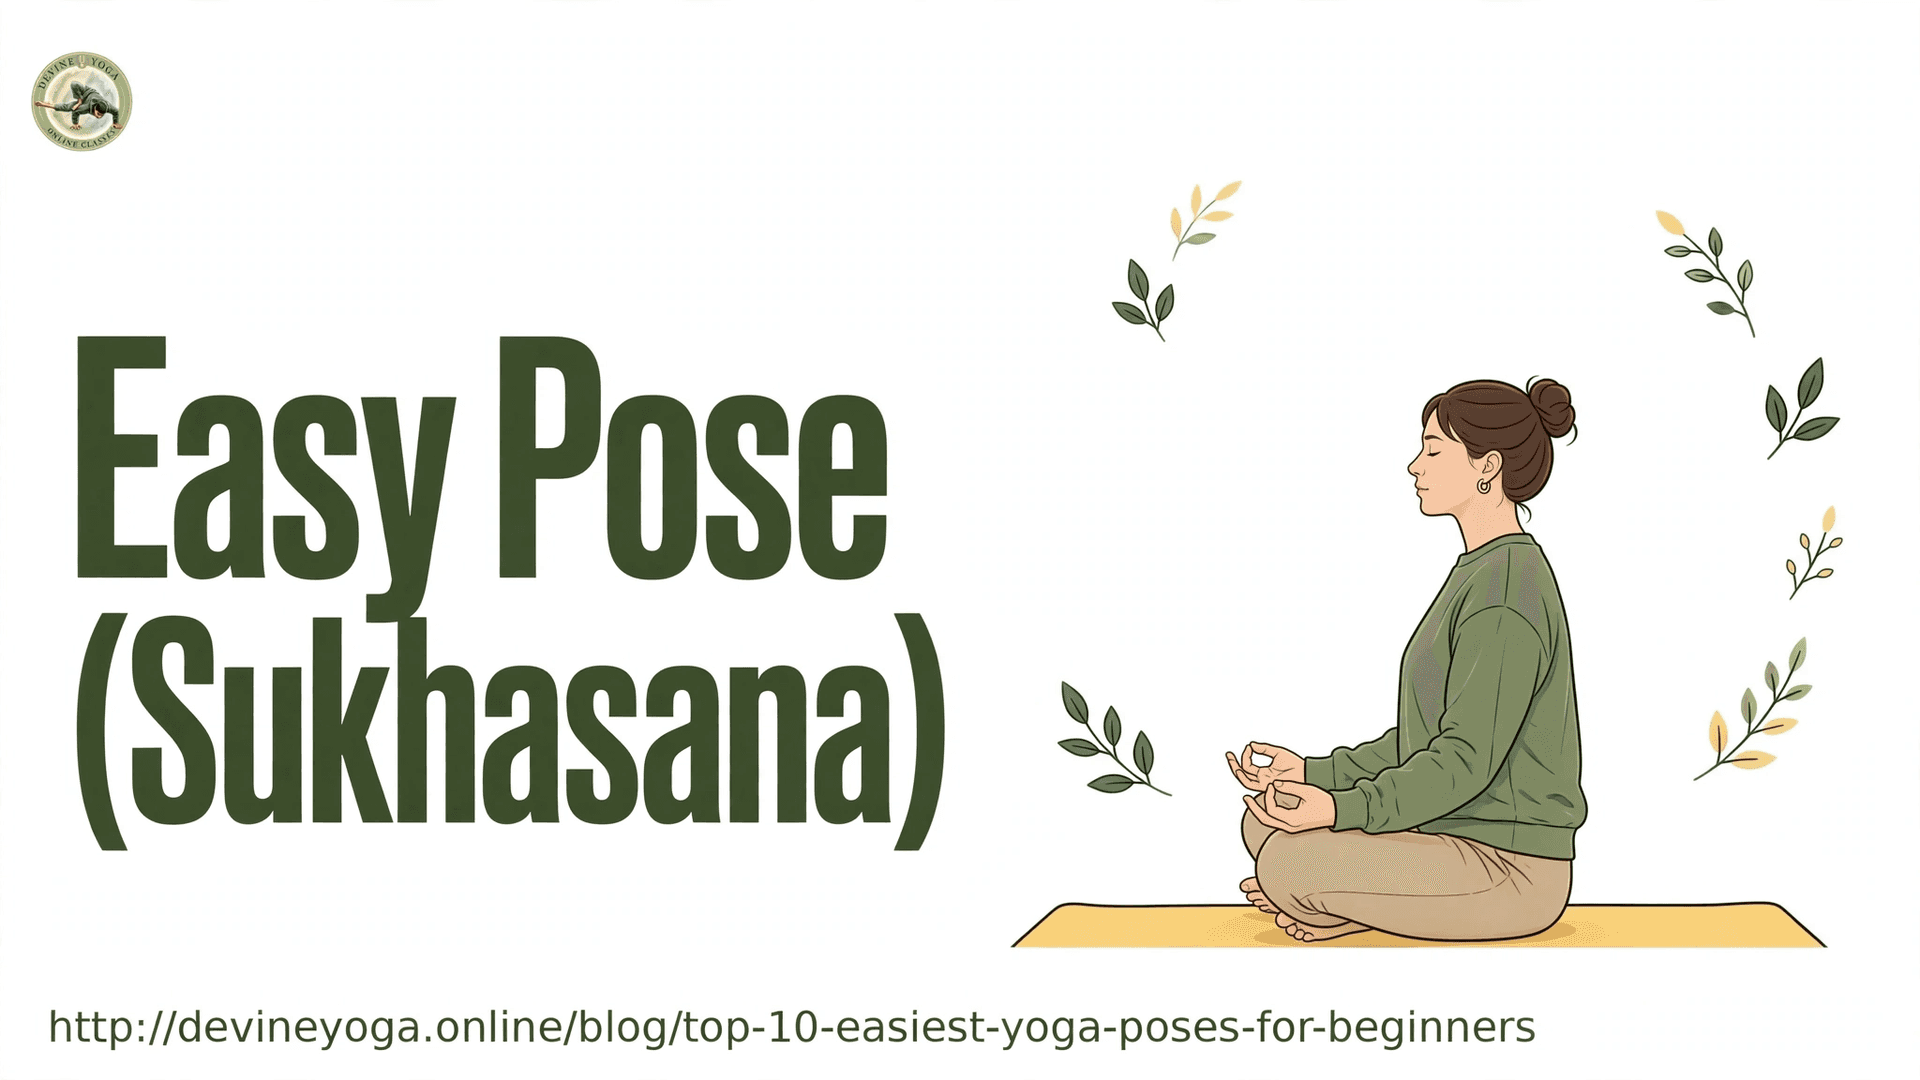
Hold: 1–3 minutes
Sukha means "ease." This is the simple cross-legged seat used for breathing and meditation.
- Sanskrit name: Sukhasana
- English name: Easy Pose
- Difficulty: Beginner
- Recommended duration: 1–3 minutes
How to do it:
- Sit on your yoga mat with your legs extended forward.
- Gently cross your legs in front of your body.
- Place each foot beneath the opposite knee or shin.
- Rest your hands comfortably on your knees.
- Keep your spine naturally upright.
- Relax your shoulders and facial muscles.
- Close your eyes if comfortable and breathe naturally.
Why it works: It gently opens the hips and prepares you for longer sitting.
Benefits of Sukhasana:
- Encourages comfortable upright sitting.
- Helps beginners develop meditation habits.
- Improves awareness of breathing.
- Encourages relaxation and mental focus.
- Provides a simple position for pranayama practice.
Common mistakes to avoid:
- Rounding the lower back.
- Forcing the knees towards the floor.
- Creating unnecessary tension in the hips.
- Sitting for too long despite discomfort.
Make it easier: Sit on a folded blanket or cushion so your hips sit higher than your knees. If your knees float, place a rolled towel under each.
3. Cat-Cow (Marjaryasana-Bitilasana)
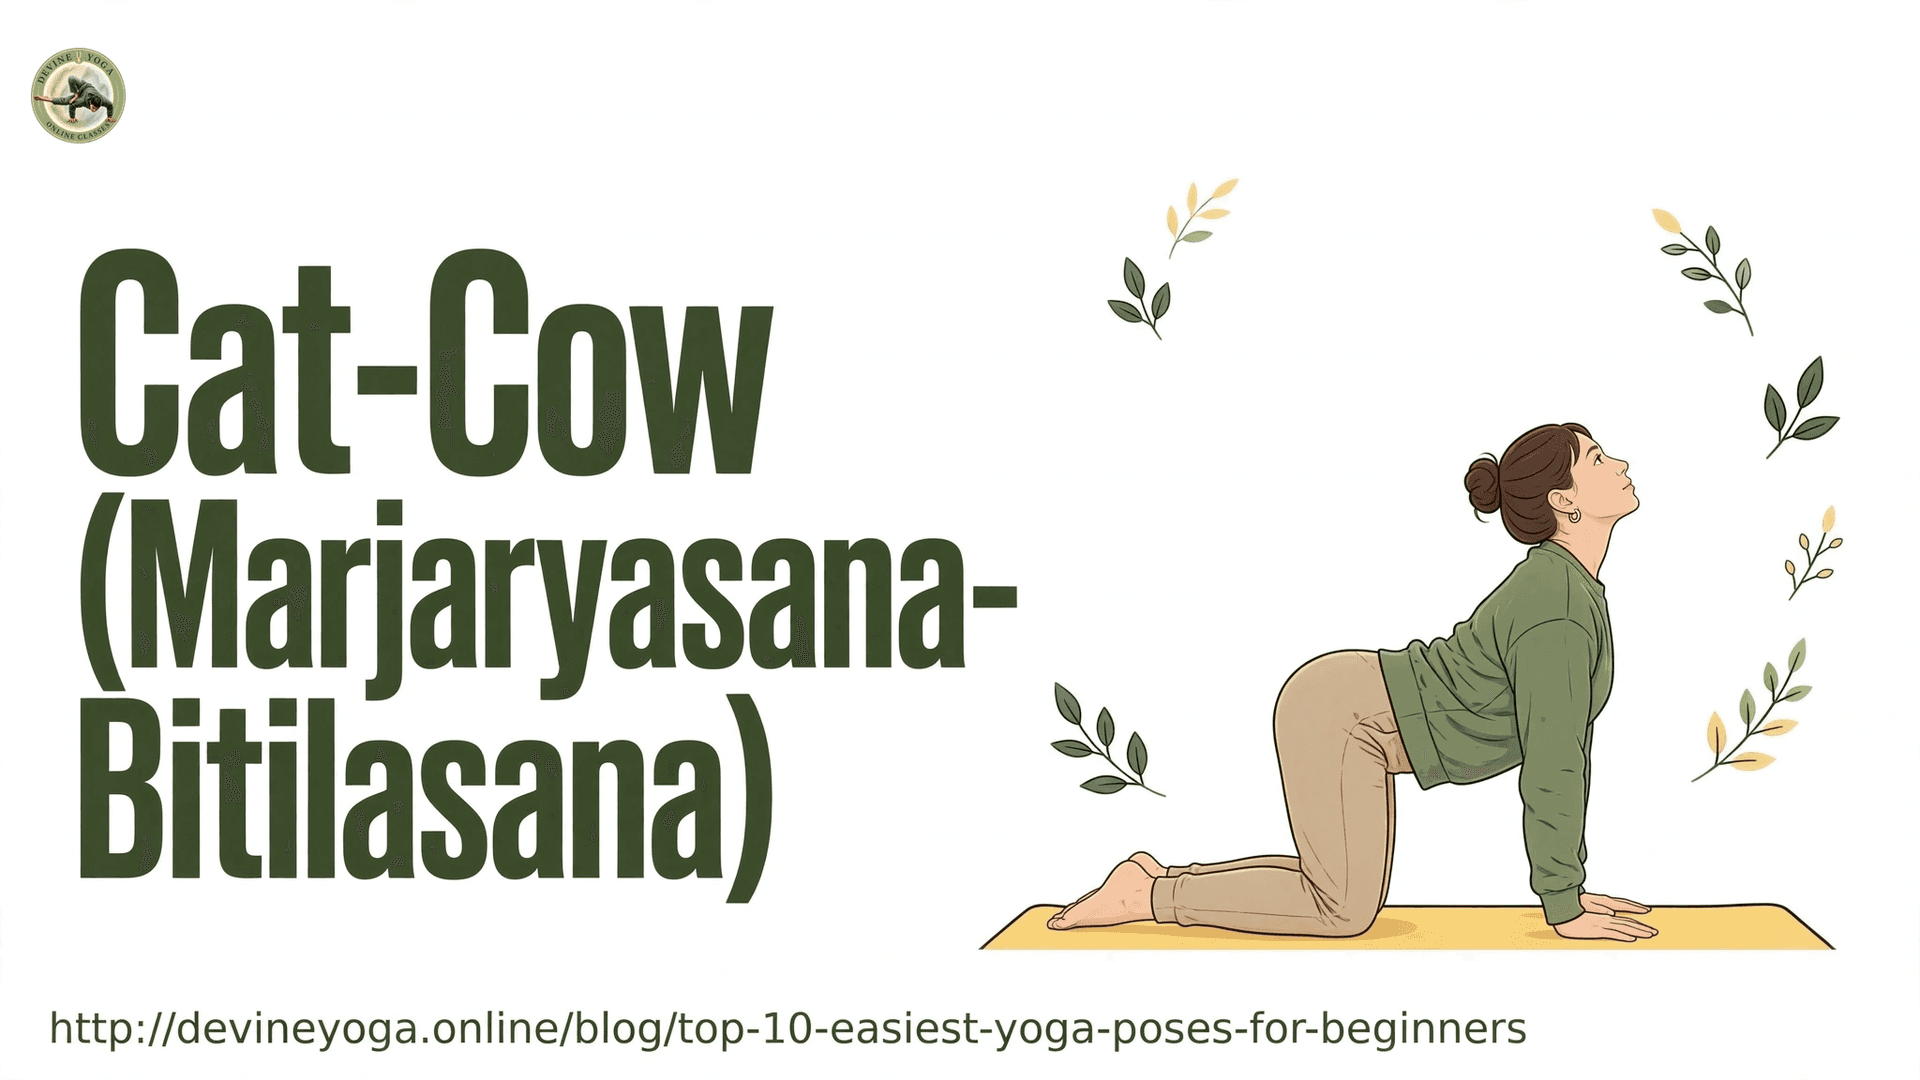
Hold: 8–10 slow rounds
This pair of movements warms the spine and links breath to motion, which is the heart of yoga.
- Sanskrit names: Marjaryasana and Bitilasana
- English name: Cat-Cow Pose
- Difficulty: Beginner
- Recommended duration: 5–10 repetitions
How to do it:
- Start on your hands and knees.
- Position your wrists approximately beneath your shoulders.
- Keep your knees beneath your hips.
- For Cow Pose, inhale and gently lift your chest while allowing your abdomen to move towards the floor.
- Look slightly forward without compressing the back of your neck.
- As you exhale, round your spine towards the ceiling.
- Gently bring your chin towards your chest for Cat Pose.
- Continue moving slowly between the two positions.
Benefits of Cat-Cow Pose:
- Encourages gentle spinal movement.
- Improves awareness of spinal positioning.
- Helps mobilise the back and shoulders.
- Coordinates breathing with movement.
- Provides a gentle warm-up before other yoga poses.
Common mistakes to avoid:
- Moving too quickly between positions.
- Forcing the lower back into an exaggerated arch.
- Placing excessive pressure on the wrists.
- Moving only the neck instead of the spine.
Why it works: The spine moves in both directions through its natural range, which can ease stiffness after long sitting.
Make it easier: Place a folded blanket under your knees. If your wrists complain, rest on your forearms.
4. Child's Pose (Balasana)
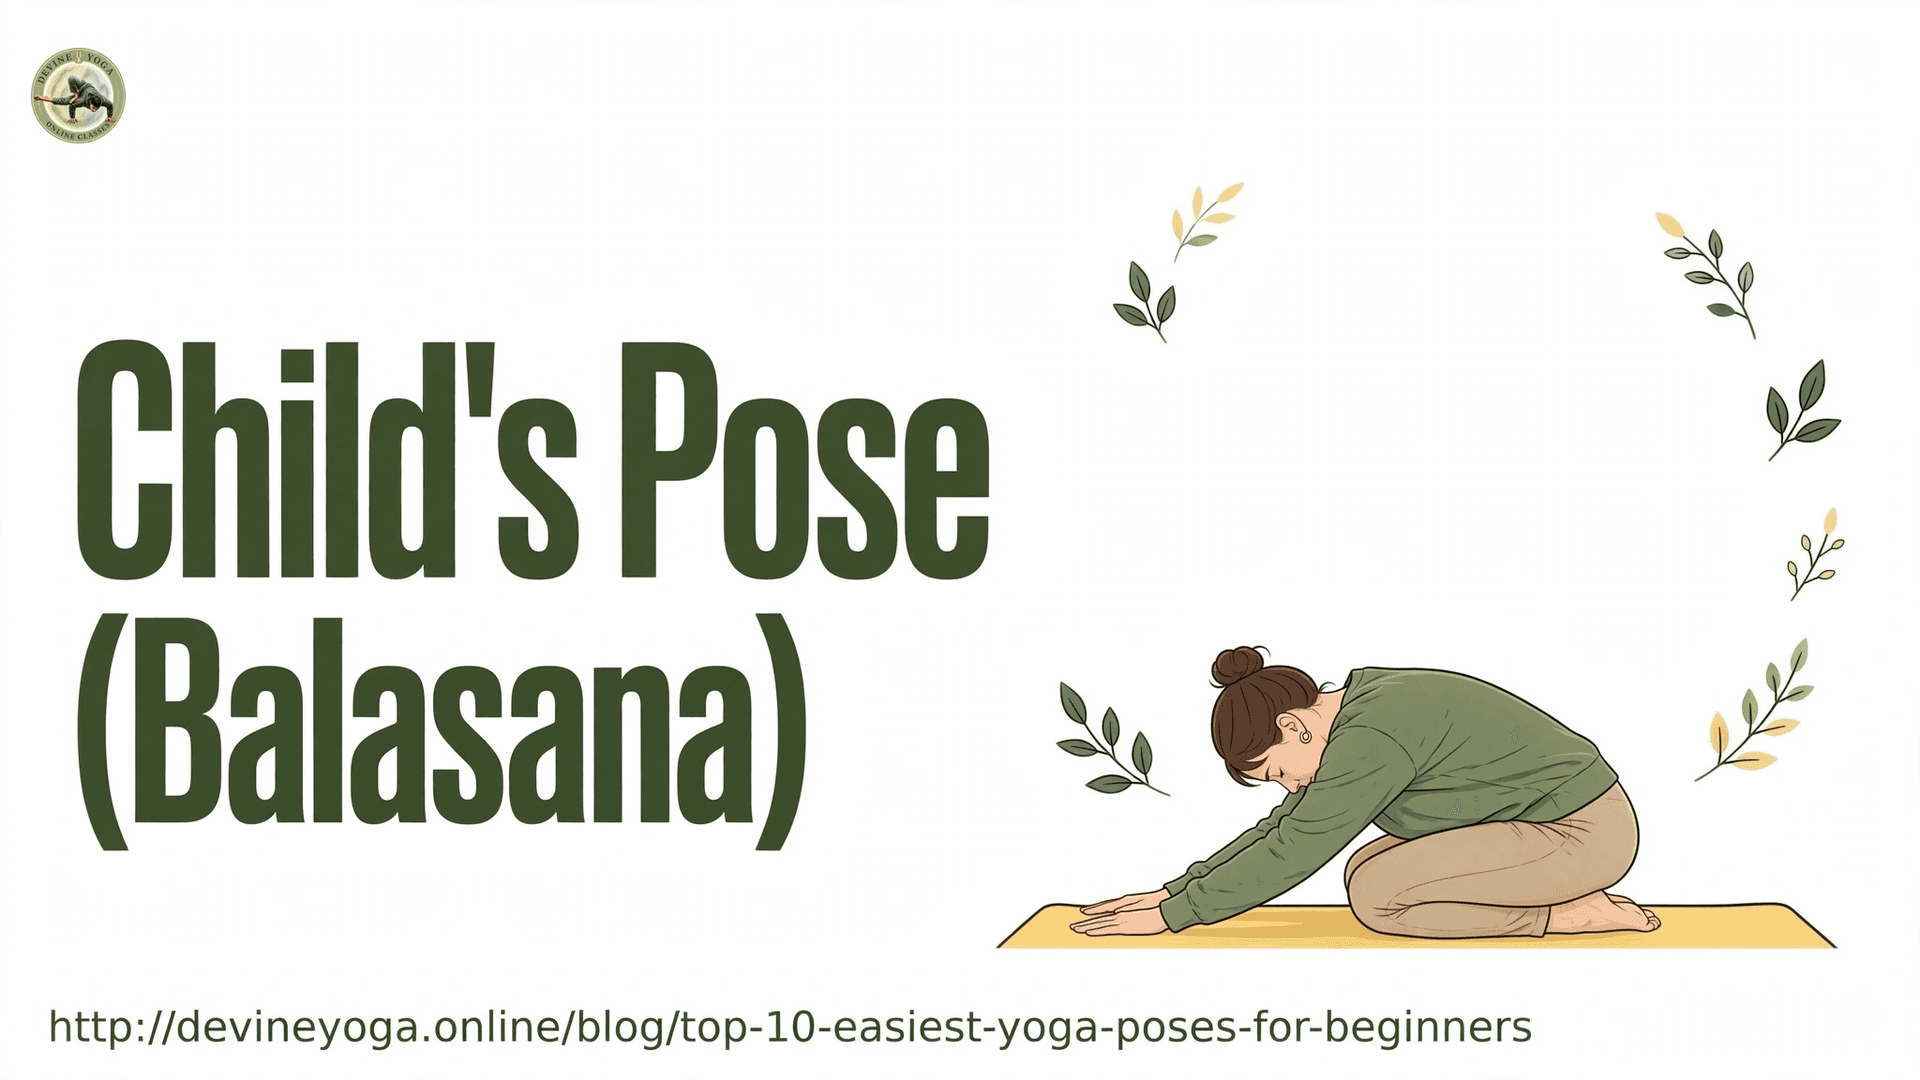
Hold: 1–2 minutes
This is the pose to return to whenever you need a break. It is allowed at any time, in any class.
- Sanskrit name: Balasana
- English name: Child's Pose
- Difficulty: Beginner
- Recommended duration: 30–60 seconds
How to do it:
- Begin by kneeling on your yoga mat.
- Bring your big toes together and allow your knees to rest comfortably apart.
- Slowly lower your hips towards your heels.
- Gently bend forward and bring your forehead towards the mat.
- Extend your arms in front of you or rest them beside your body.
- Relax your shoulders and neck.
- Breathe slowly and remain in the posture for 30–60 seconds.
Why it works: The fold encourages slow belly breathing and a sense of being supported.
Benefits of Balasana:
- Encourages relaxation.
- Gently stretches the hips and thighs.
- Provides a comfortable resting position.
- Helps release tension around the shoulders and back.
- Encourages slower, more attentive breathing.
Common mistakes to avoid:
- Forcing the hips towards the heels.
- Creating pressure on the knees.
- Holding the neck in an uncomfortable position.
- Trying to push the forehead down.
Make it easier: Place a pillow between your thighs and chest, or a folded blanket behind your knees if your hips don't reach your heels.
5. Adho Mukha Svanasana (Downward-Facing Dog)
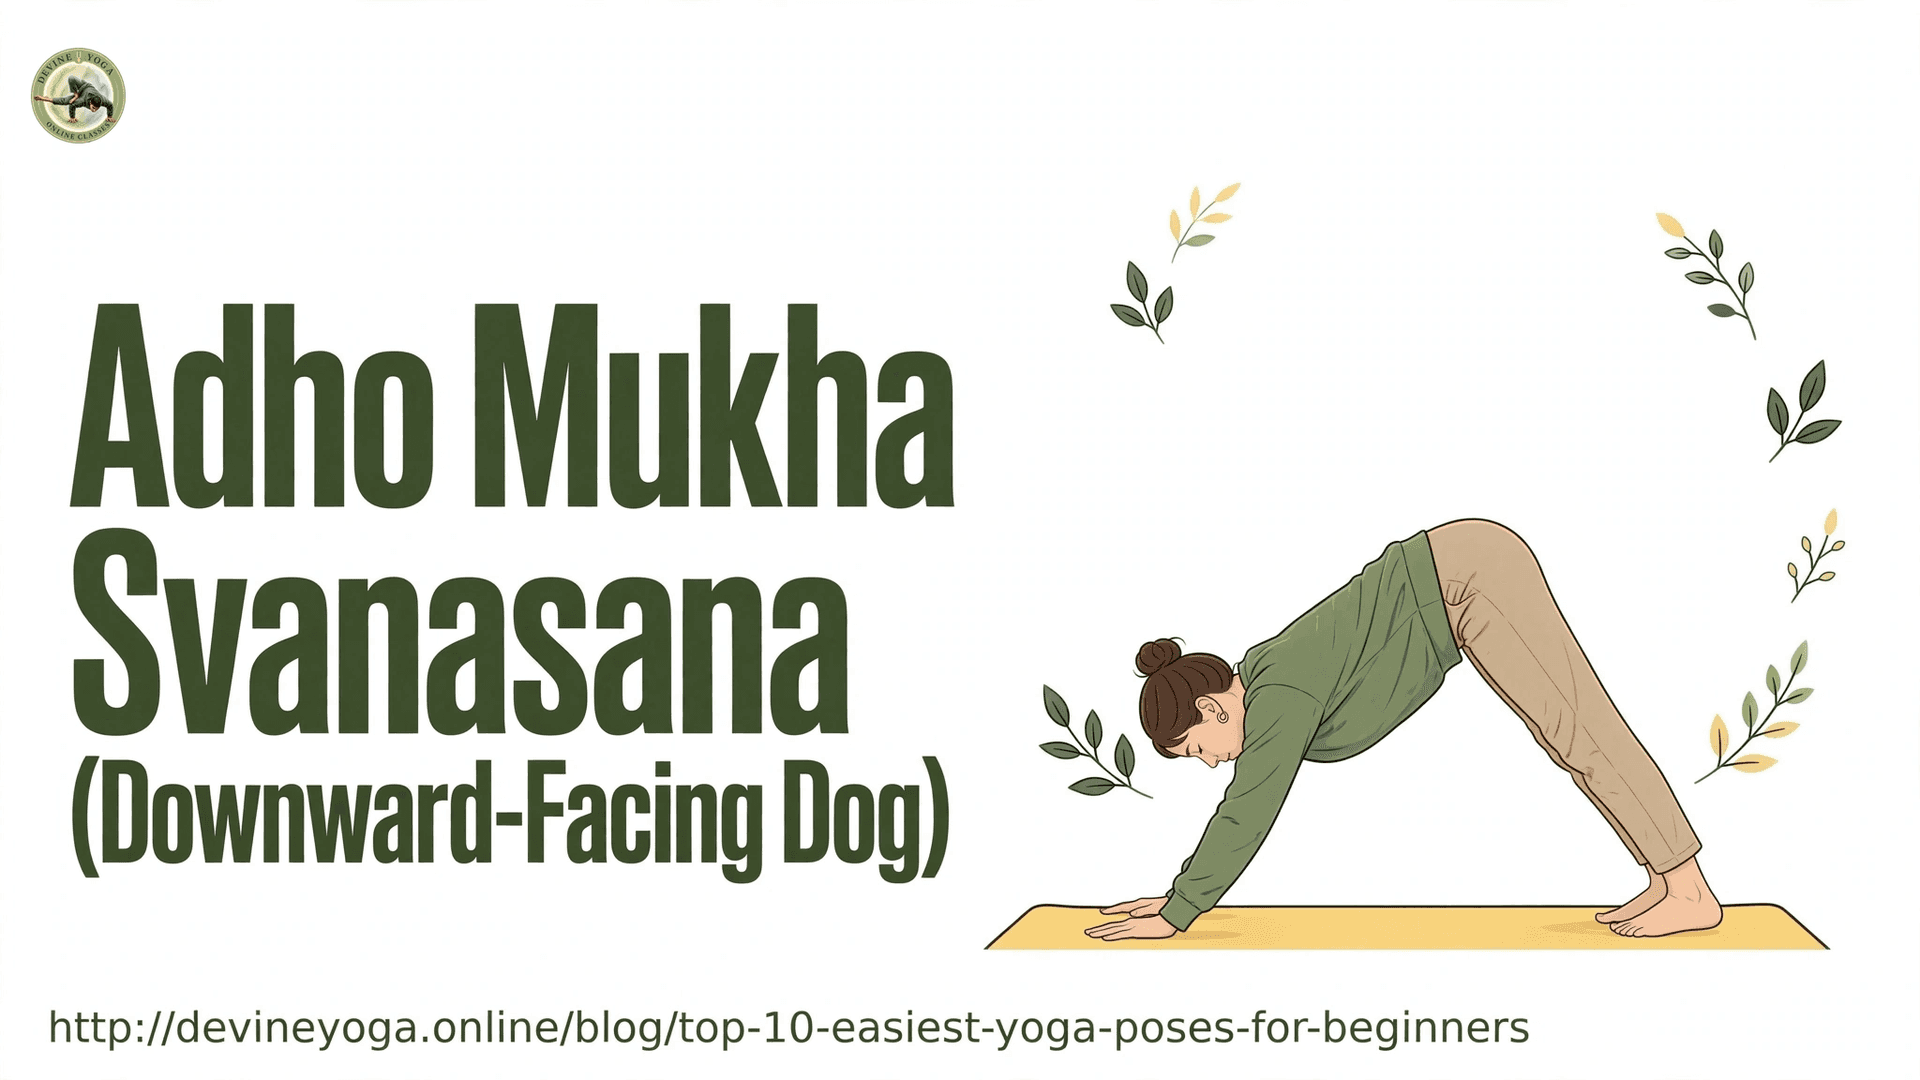
Downward-Facing Dog is one of the most recognisable yoga postures. It creates an inverted V-shape with the body and involves the arms, shoulders, legs and back.
- Sanskrit name: Adho Mukha Svanasana
- English name: Downward-Facing Dog
- Difficulty: Beginner to intermediate
- Recommended duration: 15–30 seconds
How to do it:
- Begin on your hands and knees.
- Place your palms firmly on the mat, shoulder-width apart.
- Spread your fingers and distribute pressure across your hands.
- Tuck your toes under.
- Exhale and gently lift your knees away from the floor.
- Raise your hips towards the ceiling.
- Lengthen your spine and allow your head to remain between your arms.
- Keep your knees bent if your hamstrings feel tight.
- Hold the position for 15–30 seconds while breathing naturally.
Benefits of Downward-Facing Dog:
- Strengthens the shoulders and arms.
- Engages the legs and abdominal muscles.
- Encourages mobility in the shoulders and hips.
- Stretches the back of the legs.
- Develops coordination and body awareness.
Common mistakes to avoid:
- Forcing the heels to touch the floor.
- Rounding the back excessively.
- Placing too much pressure on the wrists.
- Locking the knees.
- Allowing the shoulders to collapse.
6. Low Cobra (Bhujangasana)
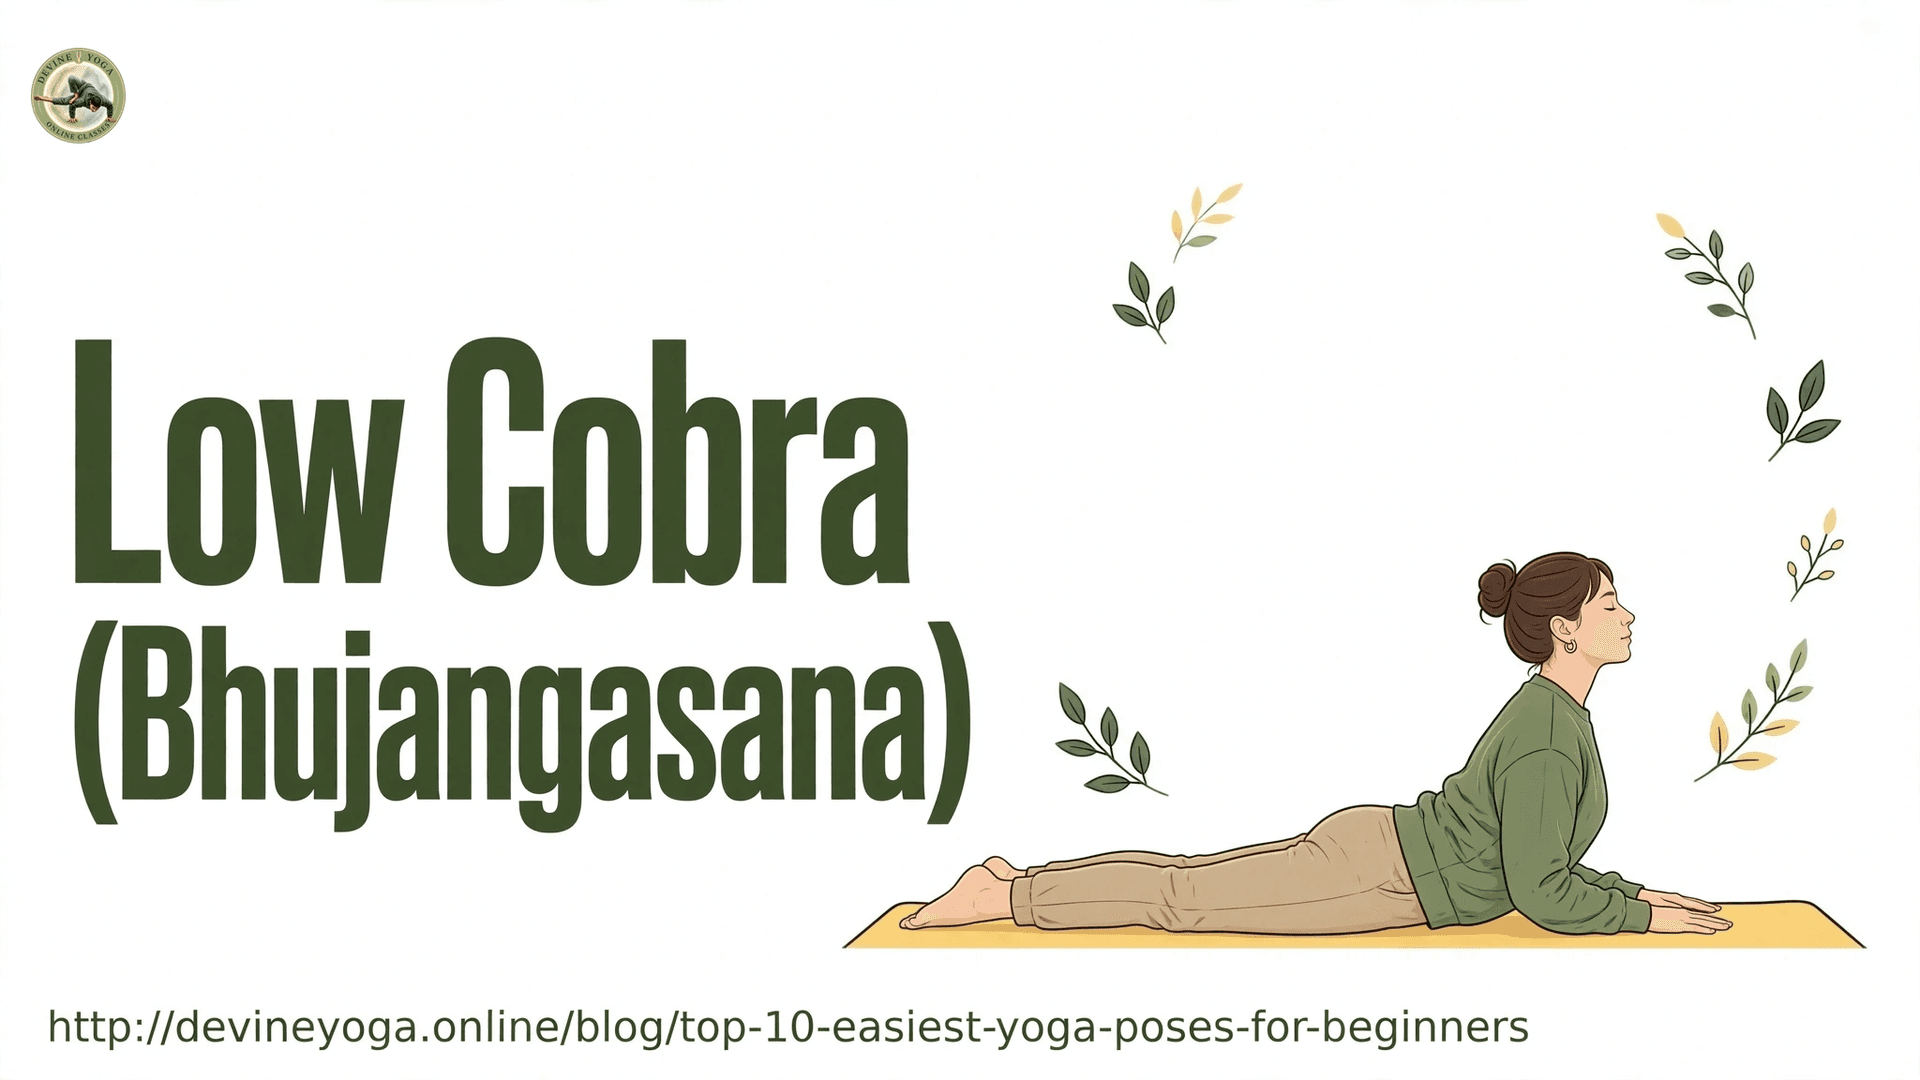
Hold: 3–5 breaths, repeat 2–3 times
A gentle backbend that strengthens the muscles along the spine without forcing the lower back.
- Sanskrit name: Bhujangasana
- English name: Cobra Pose
- Difficulty: Beginner
- Recommended duration: 10–20 seconds
How to do it:
- Lie on your stomach with your legs extended behind you.
- Place your palms on the mat beside your lower chest.
- Keep your elbows close to your body.
- Gently engage your legs and keep the tops of your feet on the mat.
- Inhale and slowly lift your head and chest.
- Use your back muscles to support the movement.
- Keep your elbows slightly bent and shoulders relaxed.
- Hold the posture for 10–20 seconds while breathing normally.
- Exhale and slowly return to the starting position.
Why it works: Keeping the lift small teaches the right muscles to do the work.
Benefits of Bhujangasana:
- Encourages spinal extension.
- Strengthens the muscles of the back.
- Opens the front of the chest and shoulders.
- Develops awareness of backbend alignment.
- Provides a gentle counterposition to prolonged forward bending.
Common mistakes to avoid:
- Pushing too strongly through the hands.
- Lifting the shoulders towards the ears.
- Forcing the head backwards.
- Creating excessive compression in the lower back.
Make it easier: Keep your hips and legs relaxed, and lift just your head and chest ("baby cobra").
7. Bridge Pose, Supported (Setu Bandhasana)
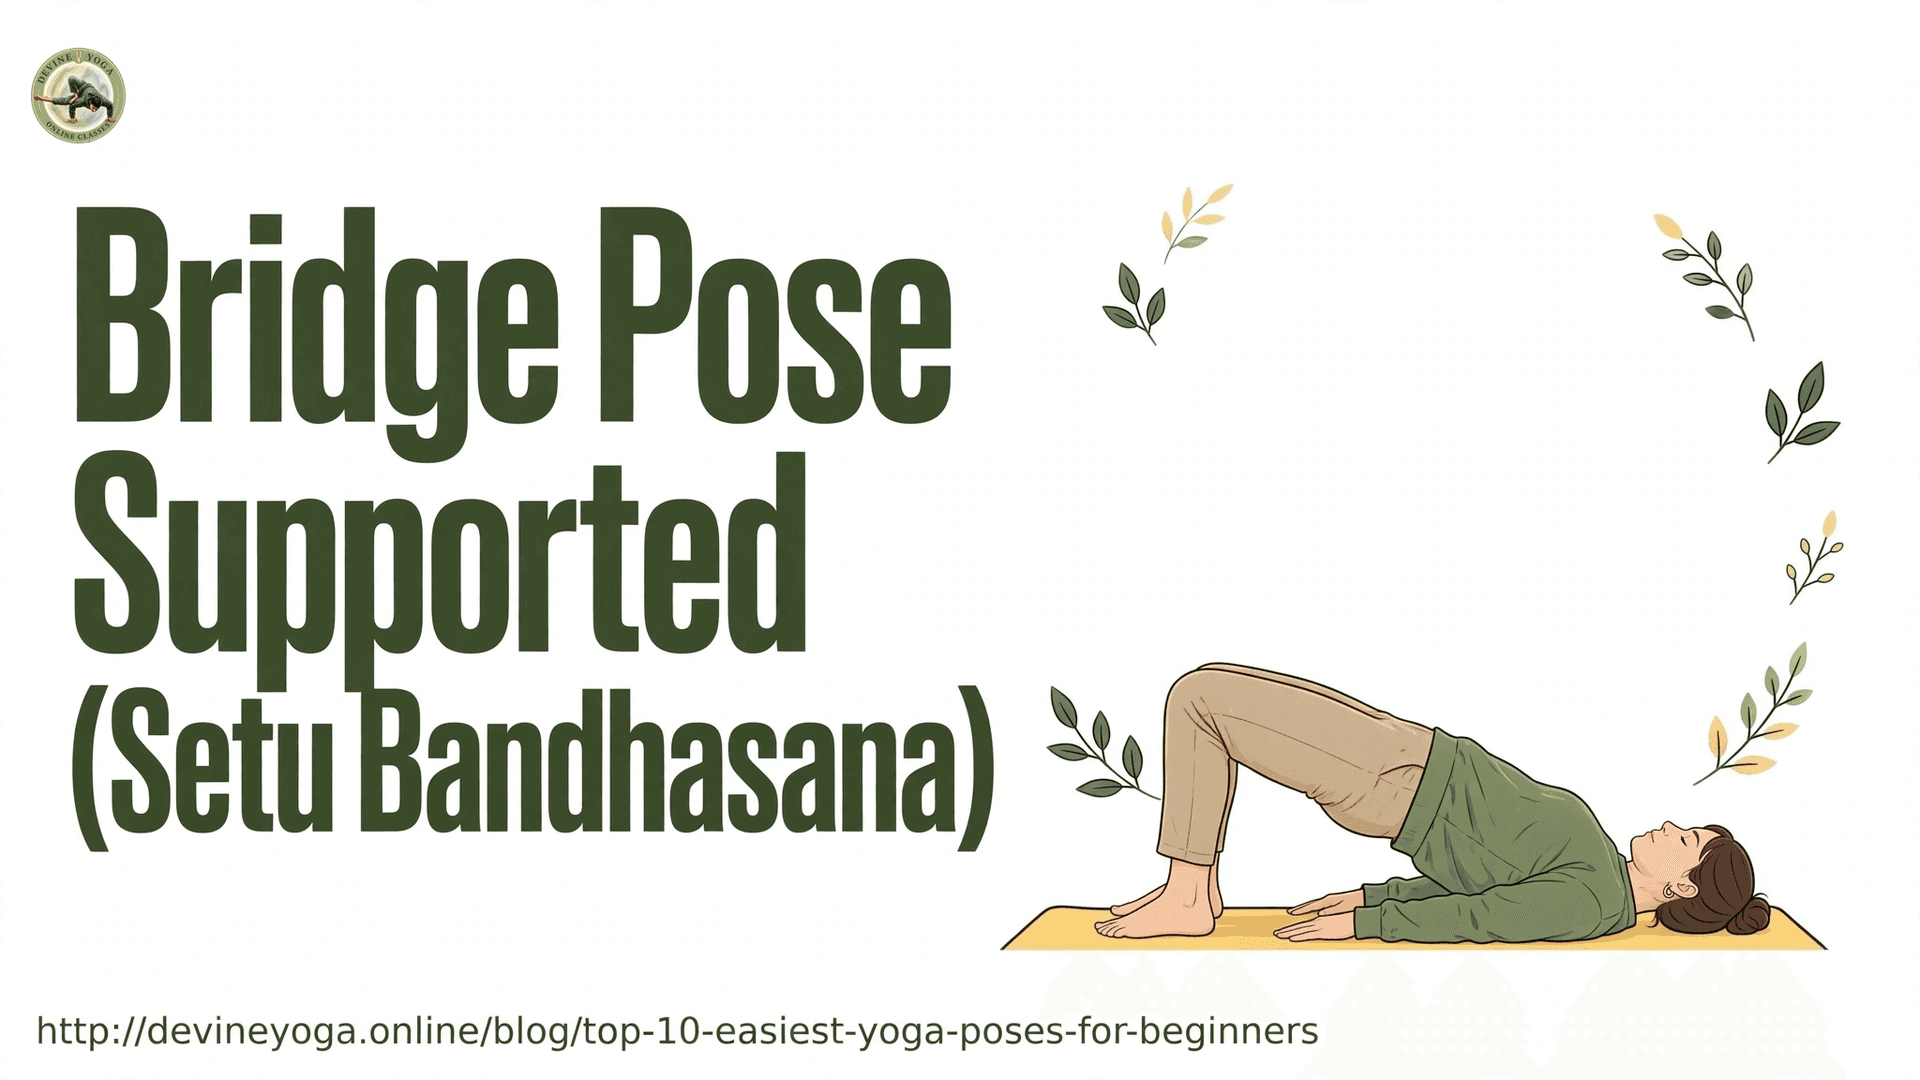
Hold: 5 breaths, repeat 3 times
This strengthens the legs and hips and opens the front of the body.
- Sanskrit name: Setu Bandhasana
- English name: Bridge Pose
- Difficulty: Beginner
- Recommended duration: 15–30 seconds
How to do it:
- Lie on your back with your knees bent.
- Keep your feet flat on the floor, approximately hip-width apart.
- Position your feet comfortably near your hips.
- Place your arms beside your body with palms facing down.
- Inhale and gently lift your hips towards the ceiling.
- Keep your knees pointing forward rather than allowing them to spread apart.
- Relax your shoulders and maintain a comfortable neck position.
- Hold for 15–30 seconds.
- Exhale and slowly lower your hips.
Why it works: It strengthens glutes and the back of the legs, which support the lower back.
Benefits of Setu Bandhasana:
- Strengthens the glutes and back of the legs.
- Encourages hip extension.
- Activates the muscles supporting the spine.
- Gently stretches the chest and front of the body.
- Develops awareness of pelvic movement.
Common mistakes to avoid:
- Pushing the knees too far apart.
- Turning the head while holding the pose.
- Lifting the hips beyond a comfortable range.
- Holding the breath.
- Placing excessive pressure on the neck.
Make it easier: Slide a block or firm cushion under your sacrum (the flat bone at the base of your spine) so it holds your weight.
8. Baddha Konasana (Butterfly Pose)
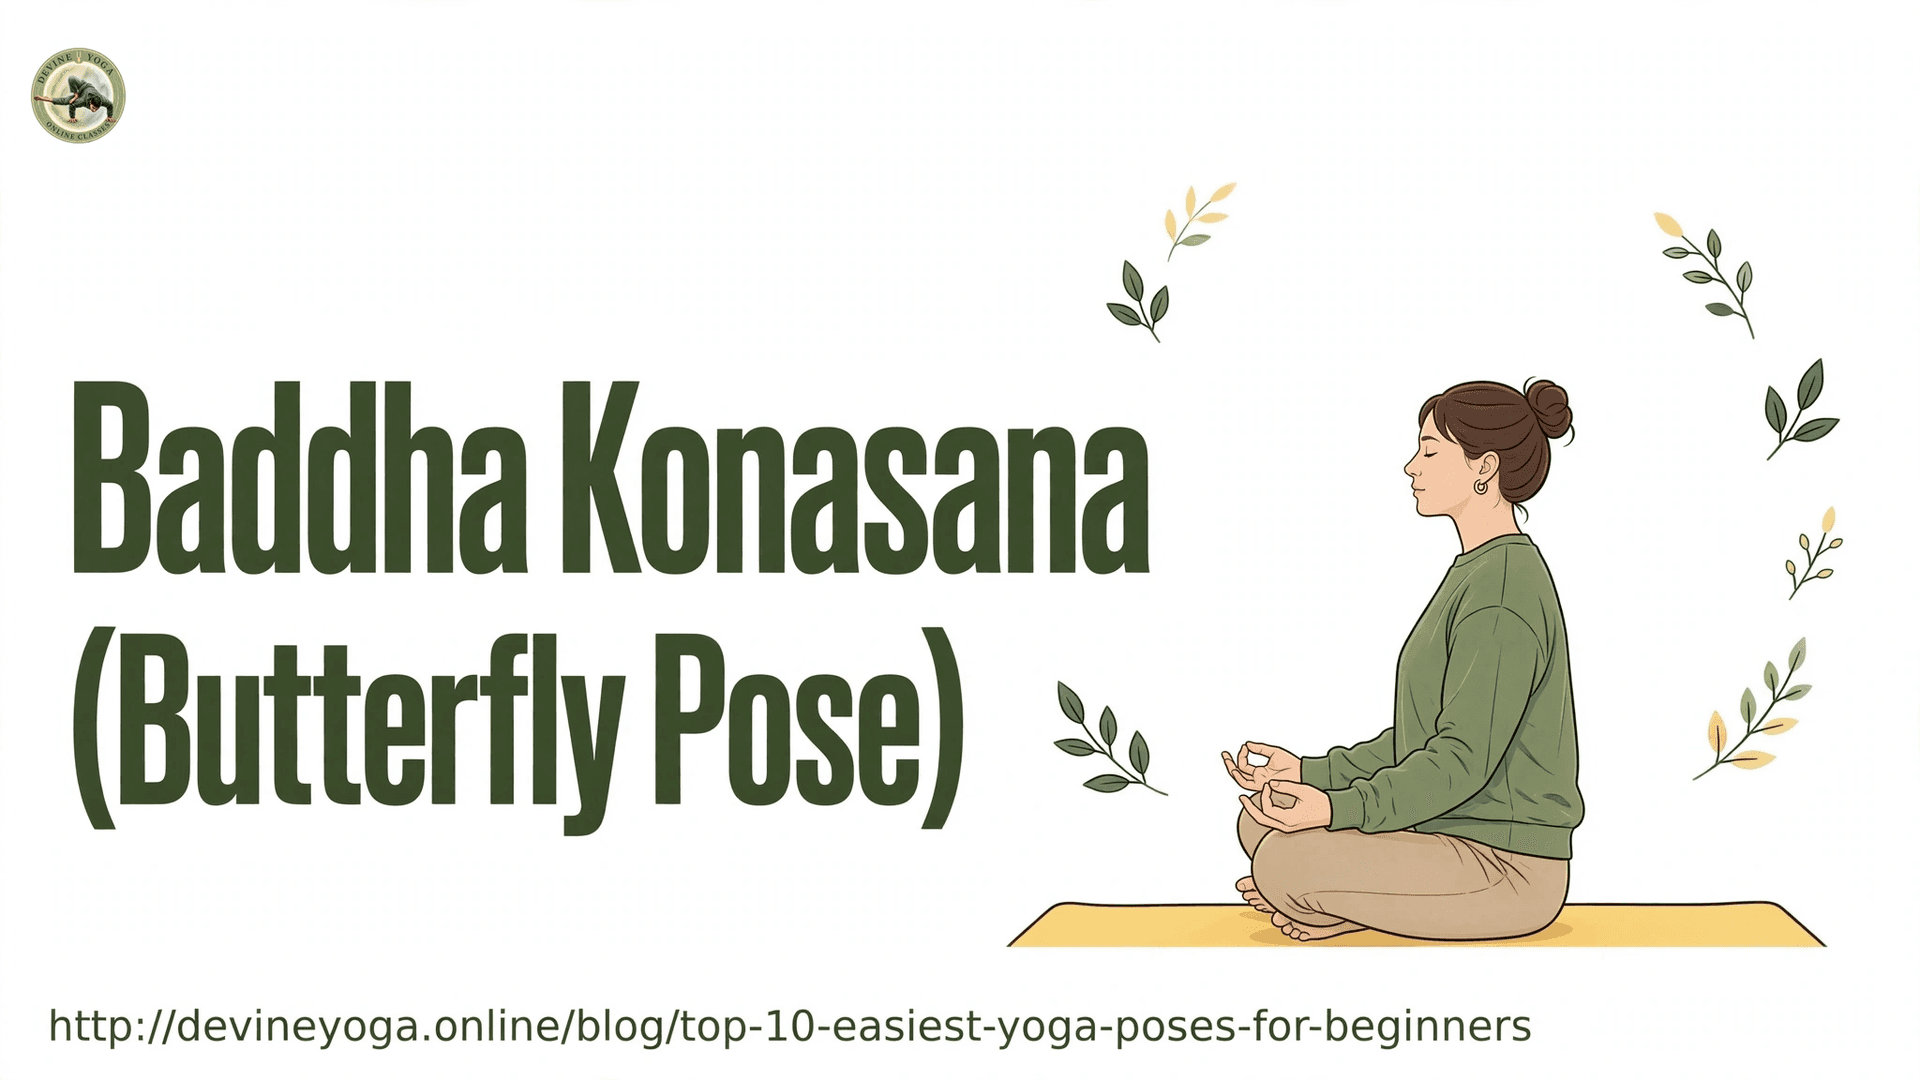
Butterfly Pose is a seated posture that gently stretches the inner thighs and encourages hip mobility.
It is especially useful for people who spend much of their day sitting, although the degree of stretch will vary depending on individual hip flexibility.
- Sanskrit name: Baddha Konasana
- English name: Butterfly Pose
- Difficulty: Beginner
- Recommended duration: 30–60 seconds
How to do it:
- Sit on your yoga mat with your legs extended.
- Bend both knees and bring the soles of your feet together.
- Allow your knees to move towards the sides.
- Hold your feet or ankles comfortably.
- Keep your spine naturally upright.
- Relax your shoulders.
- Remain in the posture for 30–60 seconds.
- Slowly release your legs and return to a comfortable sitting position.
Benefits of Baddha Konasana:
- Gently stretches the inner thighs.
- Encourages hip mobility.
- Improves awareness of pelvic positioning.
- Provides a comfortable seated stretching option.
- Can be included in a gentle flexibility routine.
Common mistakes to avoid:
- Pushing the knees towards the floor.
- Pulling the feet too close to the body.
- Rounding the lower back excessively.
- Bouncing the knees forcefully.
Beginner tip: Place cushions or yoga blocks beneath your knees for support. If your hips feel tight, move your feet farther away from your body.
9. Tree Pose, Low Version (Vrikshasana)
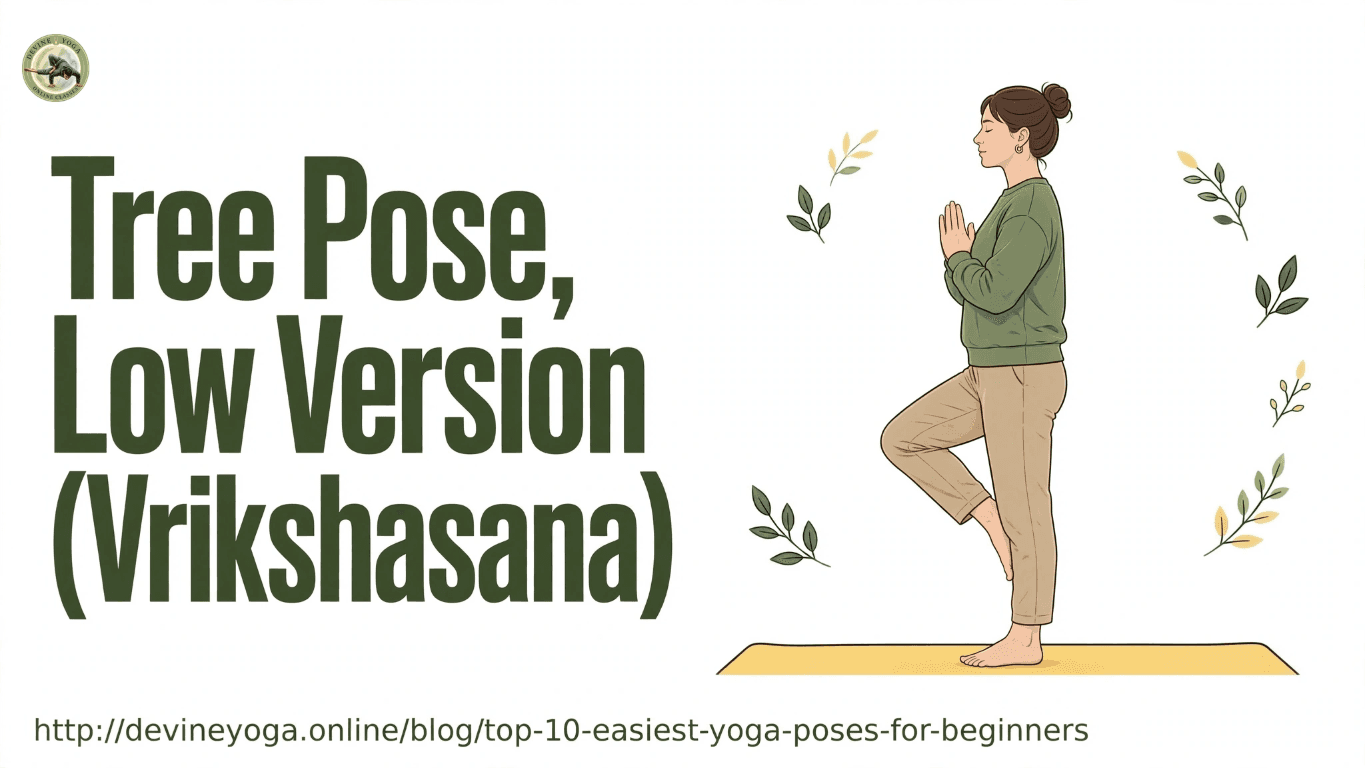
Hold: 5 breaths per side
Balance can feel intimidating. A low foot placement keeps it friendly.
- Sanskrit name: Vrikshasana
- English name: Tree Pose
- Difficulty: Beginner
- Recommended duration: 15–30 seconds on each side
How to do it:
- Stand in Tadasana with your feet grounded.
- Shift your weight gently onto your left foot.
- Bend your right knee and lift your right foot.
- Place the sole of your right foot against your left ankle or inner calf.
- Avoid placing your foot directly against the knee joint.
- Bring your palms together in front of your chest.
- Focus your eyes on one stationary point.
- Maintain your balance for 15–30 seconds.
- Slowly return to standing and repeat on the opposite side.
Why it works: A steady gaze teaches focus, and small wobbles train the small stabilising muscles of your ankles and hips.
Benefits of Vrikshasana:
- Develops balance and coordination.
- Strengthens the standing leg.
- Encourages concentration.
- Improves awareness of body positioning.
- Builds confidence in standing postures.
Common mistakes to avoid:
- Placing the foot directly against the knee.
- Leaning heavily towards one side.
- Looking around while balancing.
- Holding the breath.
- Forcing the lifted foot too high.
Make it easier: Keep your toes on the floor like a kickstand, or stand near a wall for support.
10. Corpse Pose (Savasana)
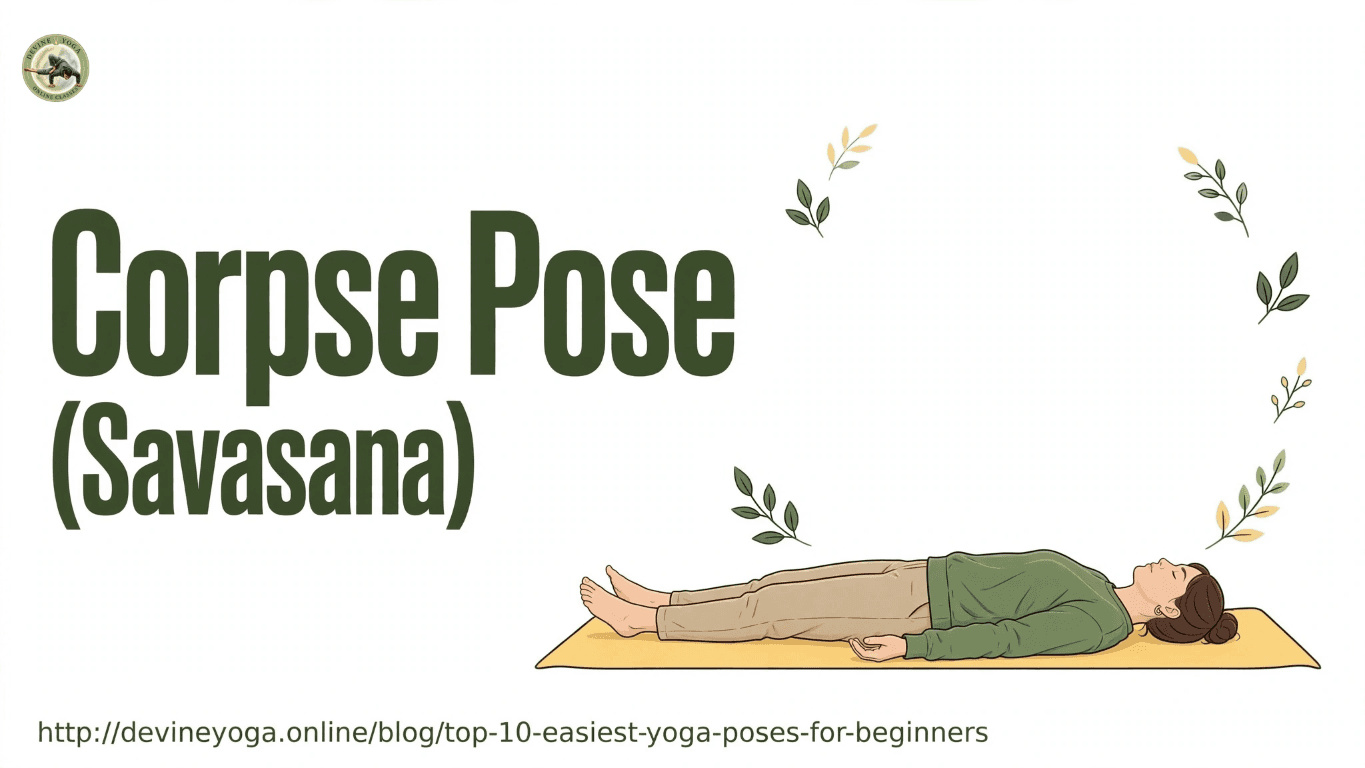
Hold: 3–5 minutes
This is the pose that looks like doing nothing and is the hardest for many people.
- Sanskrit name: Savasana (also spelled Shavasana)
- English name: Corpse Pose
- Difficulty: Beginner
- Recommended duration: 3–5 minutes
How to do it:
- Lie comfortably on your back.
- Extend your legs naturally, allowing your feet to relax outwards.
- Keep your arms slightly away from your body.
- Turn your palms upwards if comfortable.
- Close your eyes gently.
- Relax your jaw, shoulders and facial muscles.
- Allow your breathing to return to its natural rhythm.
- Remain in the posture for 3–5 minutes.
Why it works: It gives your body time to absorb what the practice has done.
Benefits of Savasana:
- Encourages physical relaxation.
- Provides a quiet period after exercise.
- Develops awareness of natural breathing.
- Helps beginners practise stillness.
- Supports a calm transition from yoga practice to daily activities.
Common mistakes to avoid:
- Treating the pose as an opportunity to check your phone.
- Forcing yourself to control every breath.
- Creating tension in the shoulders and jaw.
- Getting up immediately without allowing yourself to settle.
Make it easier: Place a bolster or rolled blanket under your knees. Cover yourself with a blanket if you get cold.
Conclusion
The top 10 easiest yoga poses for beginners are not a lesser form of yoga. They are the foundation of it. Mountain Pose teaches you to stand, Easy Pose to sit, Cat-Cow to link breath and movement, and Savasana to rest.
Start with the ten poses above, three days this week. Stay within your comfort, use props, and choose a yoga mat that suits your practice. Let the routine stay small and regular. You can add harder poses later, and the habit will already be in place.
If you'd like a teacher beside you, a live beginner class is a gentle next step. Join a free trial class at Devine Yoga Online and practise with guidance from home.
Frequently asked questions
What is the easiest yoga pose for a complete beginner?
Child's Pose and Mountain Pose are usually the easiest. Both keep your body supported and need no flexibility. Child's Pose lets you rest between other postures, which is why many teachers introduce it first.
How many times a week should a beginner do yoga?
Two to four short sessions a week is a good start. Fifteen to twenty minutes is enough. Regular practice builds familiarity, and rest days let your muscles recover, so you don't have to practise every day.
Can I learn yoga at home without a teacher?
Yes, many people begin at home with simple poses. A teacher, in person or online, helps you check alignment and catch mistakes early. If you have injuries or health conditions, speak with a professional first.
Is yoga safe for beginners with back pain?
Gentle yoga is often used for back discomfort, and some trials have found benefit. But back pain has many causes. Check with your doctor before starting, and avoid deep forward folds or backbends until advised.
What is the best time to do these 10 poses?
Morning (7–9 AM), on an empty or light stomach, is best for energy. Evening (5–7 PM) is good for stress relief. Practise at the same time every day to build the habit.
Do I need to chant mantras with these poses?
No, chanting is optional. You can chant Om three times at the start and end of your practice to centre the mind. For focus, chanting Om silently during Savasana or Sukhasana is simple and calming.
Reading is a start. A live teacher is the shortcut.
In a Devine Yoga Online class your trainer sees you, corrects you by name and adapts every pose to your body - beginners included.
Related blogs
What Is Aerial Yoga? Meaning, Benefits, and Basics
What is aerial yoga? Learn its meaning, how aerial hammock yoga works, benefits, safety tips, basics for beginners & who should avoid it.
12 min read
Yoga for Senior Citizens: Benefits, Easy Poses and Safety Tips
Explore gentle yoga for senior citizens, including chair yoga, beginner-friendly poses, benefits, safety tips and a simple daily routine for healthy ageing.
18 min read
Cat Cow Pose: How to Do It, Benefits and Common Mistakes
Learn Cat Cow Pose step by step, its benefits, correct breathing, beginner modifications and common mistakes.
14 min read